ILLUSTRATION AND VISUAL NARRATIVE - EXERCISES
29 August,2017 - 5 September, 2017 (Week 1- Week 2)
Jesslyn Fabryando (0332213)
Illustrative and Visual Narrative
Exercises
Lecture/ Tutorial 1: Introduction to Adobe Illustrator and Vormator Challenge
On the first week of class, our lecturer, Mr. Hafiz, introduced us about what we are going to learn in illustration and visual narrative. He briefly explained about the module, and how we need to keep all the files until the end of week 14 because week 14 is the week where our files are being asked to be submitted. He also suggested to get Adobe Illustrator software and other software that is needed throughout the end of the semester.
Practical 1 - Vormator shapes tracing
As the lecturer explained, we were asked to download the vormator shapes in the internet and asked to trace it using pen tool. Mr. Hafiz taught us how to make a concave line using pen tool as well as duplicating shapes to make an amazing new shapes.
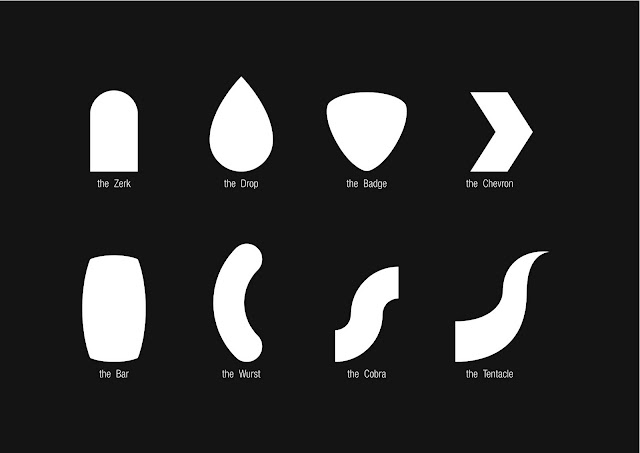 |
| Fig. 1. Vormator shapes that we are asked to trace using pen tool |
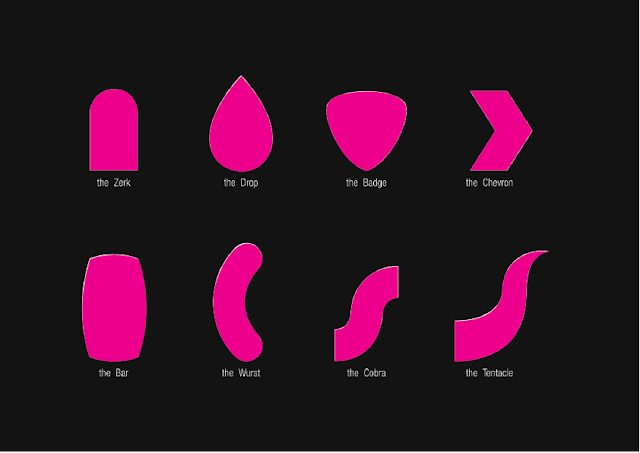 |
| Fig. 2. Vormator shapes after I traced it |
Lecture/ Tutorial 2: Tracing Pear and Shadowing
On the second week, our lecturer, Mr. Hafiz, introduced us how Adobe illustrator works. We stayed in the design Mac lab and were introduced to different types of tools that we will normally encountered and used whenever we are designing. The tools were the selection tool, direct selection tool and pen tool. Aside from that, we also learnt how and when to change the fill to transparent or colors. We also being taught the short cut key for duplicating shapes and other amazing thing that Adobe illustrator can do.
The first 1 hour of our class discussion was a review of the Vormator character making during our first week. Mr. Hafiz made a revision about the proportion/ size of the characters, use of colors to make a bit more appealing to the eyes. We proceed to study how to make a shadow where we play with the lights in which direction does the light is reflecting to the object.
Practical 2 - Tracing Pear, Shadowing and cutting the pear into slices
During our practical inside the class, we were asked to download this pear image for us to trace it. (fig. 3.) We trace using pen tool.
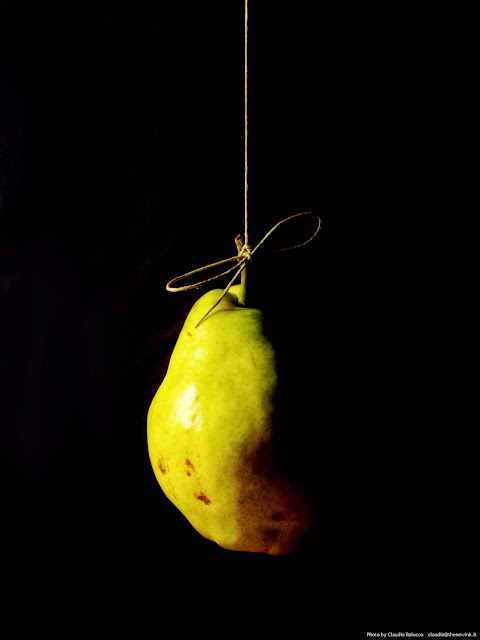 |
| Fig. 3. Pear Tracing |
After we traced it, we were asked to make the fruit looked like it was being cut and we can see the inside of the fruit. We were also asked to manipulate the color, light as well as the shadow to the fruit. Aside from that we also learnt how to add some texture to the pear using some images.
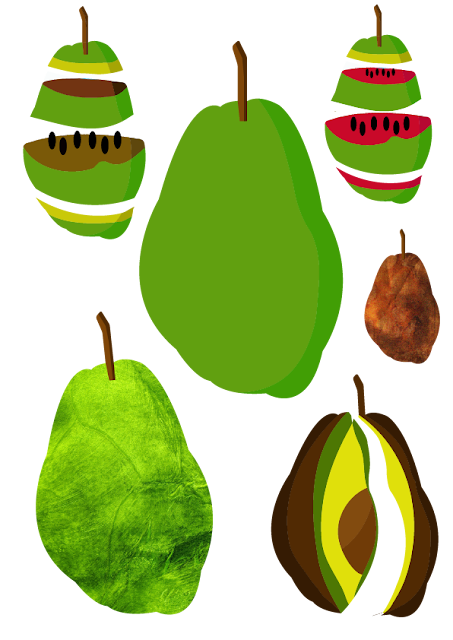 |
| Fig. 4. Manipulating the color, shadow and texture |
Exercise 1 - Create our own Vormator Character
After we are done with our pear tracing we proceed to our exercises which is making our own vormator character. Since, I have traced all the shapes in figure 1 and 2, we were asked to make our own character using the shapes that we have traced. We were not allowed to distort the shape. We should play with the shapes by duplicating to make a new shapes.
I come up with my own character which is a combination of chicken and crab. I duplicate some of the shapes creating the arms, legs, hairs and even the eyes. (fig. 3.)
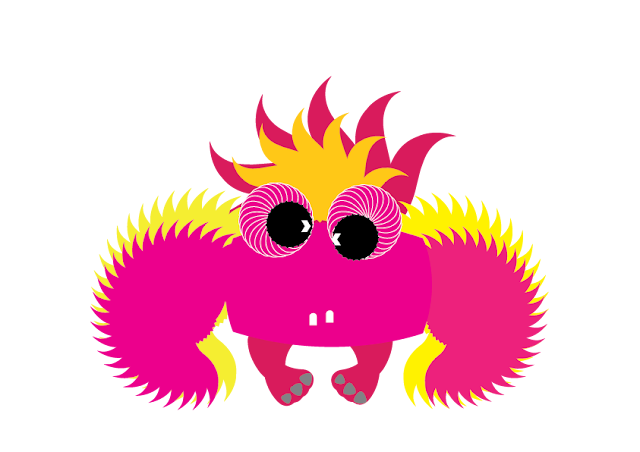 |
| Fig. 3. Vormator Character making |
As we learned how to make shadows in our own character making, I decided to edit my character and this is the outcome. (fig. 4.) I played with the color to make the character appears more interesting. We learned how to group shapes, as well as using pathfinder.
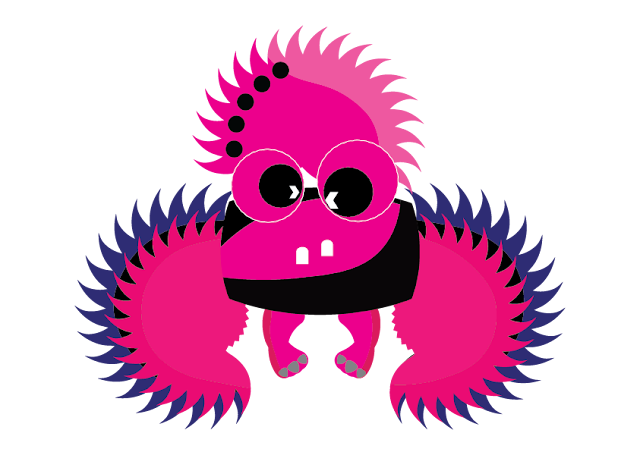 |
| Fig. 4. Vormator making added some shadows (final outcome) |
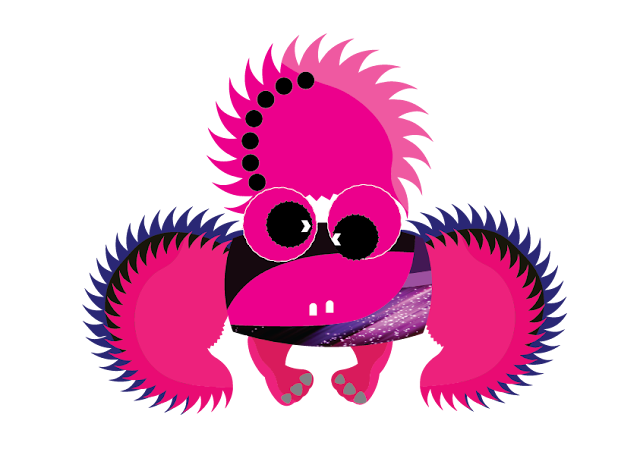 |
| Fig. 5. Vormator making added some texture (First redo) |
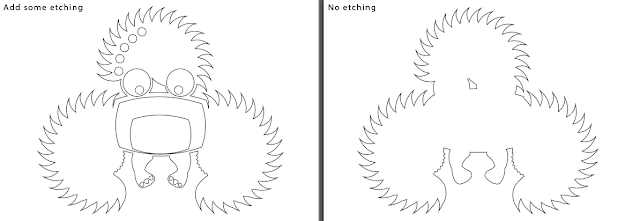 |
| Fig. 6. Making only the outline visible with no fill |
The outline I made it black and no fill in it because the laser printer cannot do any colors in it. I make sure all the shapes are ungrouped it and no pathfinder. Figure 6 is my first try to laser cut my voltmeter.
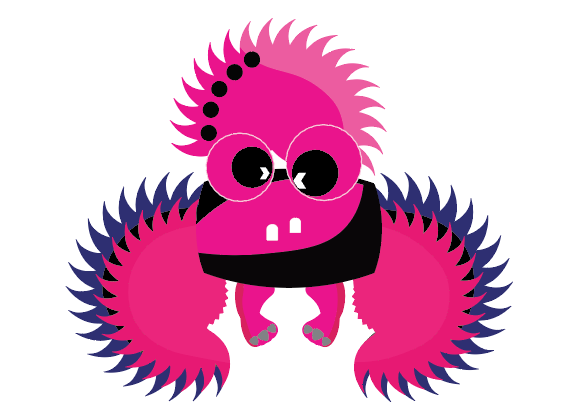 |
| Fig. 7. Vormator making (Second redo) (Final Outcome) |
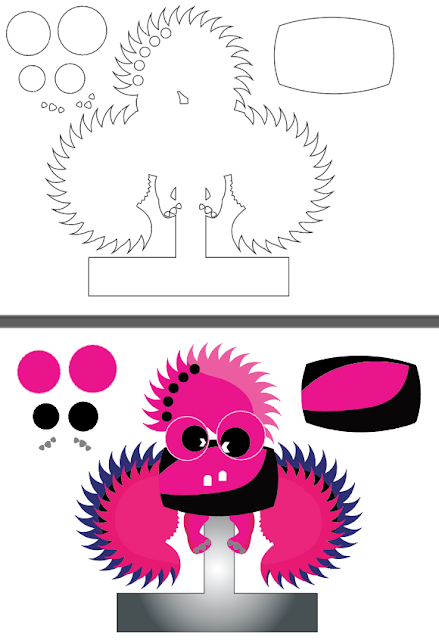 |
| Fig. 8. Vormator outline and the final one to laser cut |
In figure 8, there is little shapes beside the monster's outline is because I want to cut and paste in some areas of the Vormator character. The reason for this is to make a 3D looking character. Mr. Hafiz also asked us to add some stands to the character 1 inch height for the base.
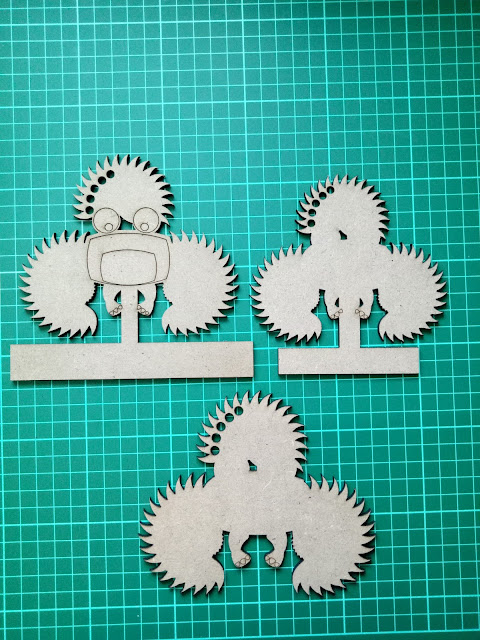 |
| Fig. 9. The outcome of my laser cut printing |
Google Drive Link: https://drive.google.com/open?id=0B05GMm8yDrJIb1pXYkxHM1JIZUU
Fig. 9.1. Laser cut printing
After we laser cut, we need to color it either using UV printing or we were allowed to paint using acrylic painting. As I tried to color my vormator character using UV printing, it turns out that the color doesn't appear/ show really well. So, the printing people change the material for us into acrylic board. Using the acrylic board, the color appear better (Fig. 10).
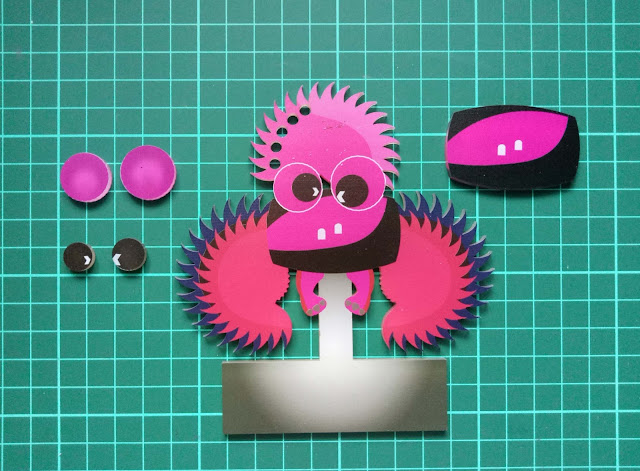 |
| Fig. 10. The outcome of my laser cut printing that is colored using acrylic board |
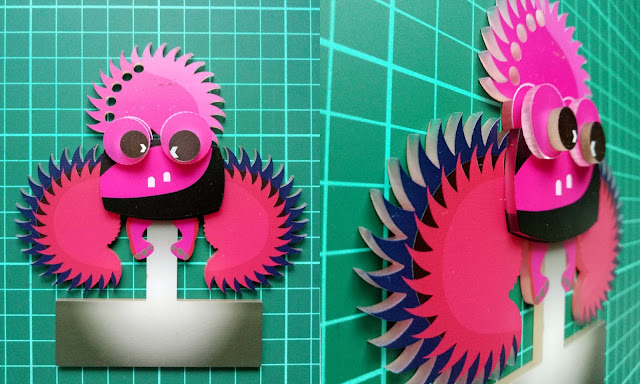 |
| Fig. 11. The outcome of my laser cut printing that is colored and being pasted (3D Outcome) |
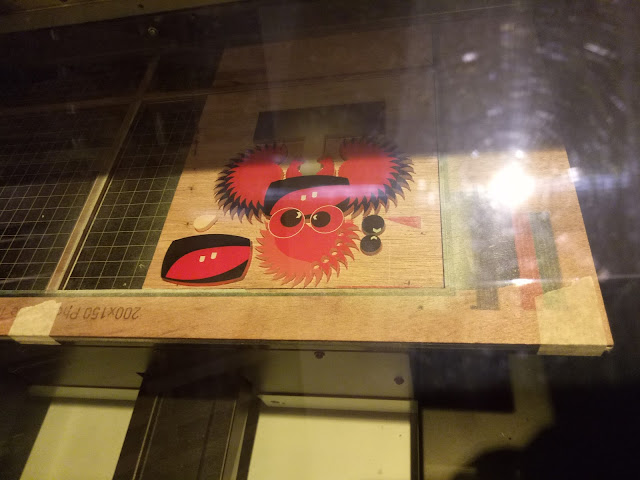 |
| Fig. 12. The Processor coloring the vormator character |
Google Drive Link: https://drive.google.com/open?id=0B05GMm8yDrJINFdSSi1ndWlIbnc
Fig. 12.1. The Processor coloring the vormator character (Video)


Comments
Post a Comment